A quick look at an awesome React Native Boilerplate
Tired of reading text? Then jump straight to my quick video that will walk you through the entire boilerplate.


Tired of reading text? Then jump straight to my quick video that will walk you through the entire boilerplate.
Starting a project from scratch can be a lot of work and finding the right boilerplate can help speed up your development process.
I’m going to walk you through one I always use and instead of hitting you with a wall of text describing every part of the boilerplate, I thought it would be more helpful to create a video that will get you from zero to coding in no time!
Want me to IGNITE my webcam on fire (😉) and NEVER make a video tutorial again OR did you enjoy the video tutorial and want to see more?
Either way, I’d love to hear your feedback on Twitter and/or in the comments.
Here’s some text for those who can’t watch my video at the moment but have bookmarked it for later.
These are some properties I look for in my boilerplates:
- A good file structure. If the boilerplate is disorganized from the start, you’re going to have to spent some time restructuring upfront and who knows what this will break. Its best to choose a boilerplate that has a file structure you’re ok with.
- A relatively low learning curve. I’m all for learning new libraries but the more libraries you’re unfamiliar with in a boilerplate, the longer its going to take you to get started.
- A vibrant community. You want to choose a boilerplate that is going to stand the test of time and one indicator of the previous is the community surrounding the boilerplate. How many stars does the project have on github? When was the last merge into master? How many open issues are there?
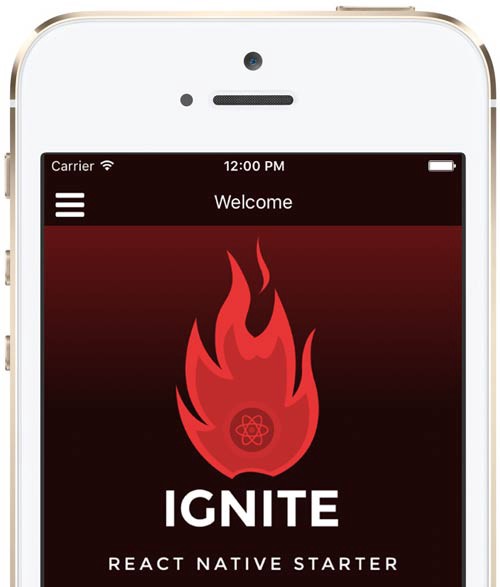
The boilerplate I found for React Native that met all of the above requirements is called Ignite.
It uses Redux for state management and a cool new technology called Redux Sagas to handle your asynchronous flow.
Ignite has an awesome CLI (Command Line Interface) that makes creating new components and apps a breeze and it also has a great community surrounding it.