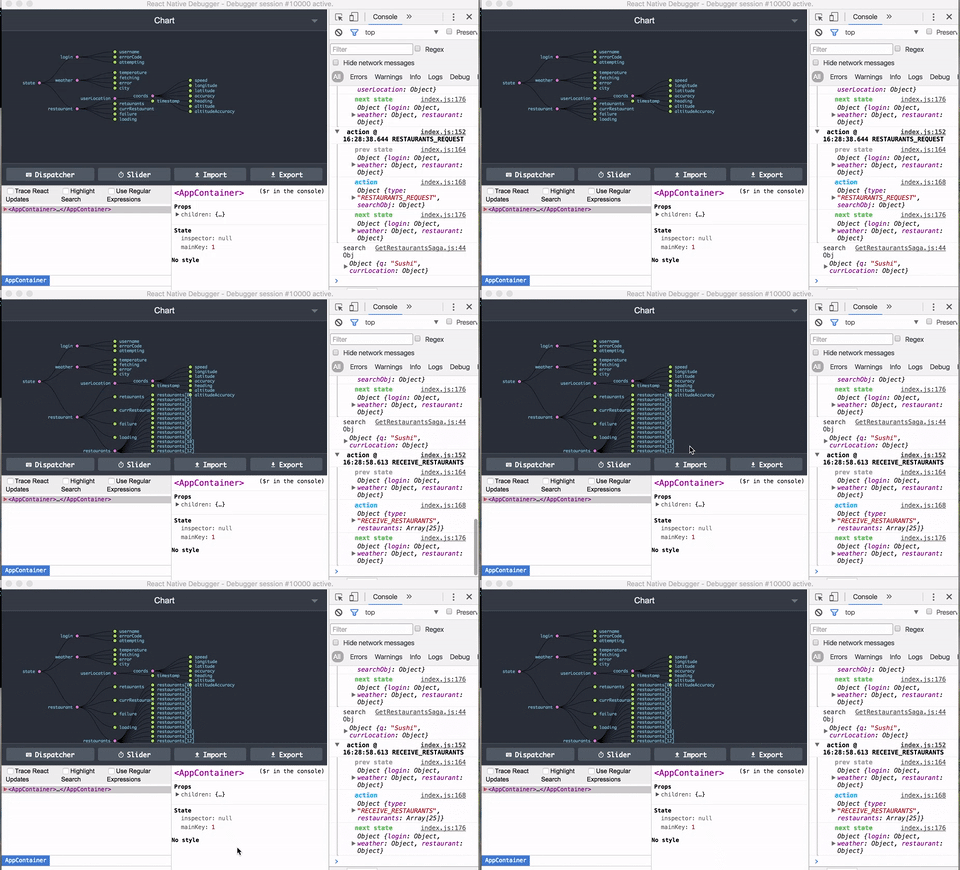
If you’re using Redux to manage your state in React Native apps then you should also be using the React Native Debugger to super charge your development experience.
In this post I’ll show you how to setup the amazing React Native Debugger.
First, make sure you have Homebrew installed on your system by executing ‘brew’ in your Terminal. If you don’t install instructions can be found here.
Next, execute the following:
$ brew update && brew cask install react-native-debuggerThen, install React Native Debugger Open as a project dependency using the following (this will make it so that the React Native Debugger will get opened instead of the Chrome one):
$ npm i --save-dev react-native-debugger-openYou’ll also need to include the following in your projects package.json:
"scripts": {
  "postinstall": "rndebugger-open"
}
Finally, you’ll need to add the bolded lines of code below to wherever you’re initializing your store:
import { createStore, applyMiddleware, compose } from 'redux';
import thunk from 'redux-thunk';
import reducer from '../reducers';

export default initialState => {
  const enhancer = compose(
    applyMiddleware(thunk),
    global.reduxNativeDevTools ?
      global.reduxNativeDevTools(/*options*/) :
      noop => noop
  );
  const store = createStore(reducer, initialState, enhancer);
  // If you have other enhancers & middlewares
  // update the store after creating / changing to allow devTools to use them
  if (global.reduxNativeDevTools) {
    global.reduxNativeDevTools.updateStore(store);
  }
  return store;
}
That’s it, you should now be ready to develop your React Native apps like a boss now.


