Setting up your Macbook for React Native and Android
If you were like me and had never used Android Studio before, setting up your Mac for use with React Native and Android might be an error…


If you were like me and had never used Android Studio before, setting up your Mac for use with React Native and Android might be an error filled journey.

I’m going to walk you through how to set up and configure Android Studio for use with React Native and hopefully help you avoid an error filled journey.
Step 1: Follow the Getting Started guide for React Native
Note: You’ll need to have Java SE Dev Kit 8 installed on your Mac to use Android Studio.
Step 2: Set up environment variables in your ~/.bash_profile file
export ANDROID_HOME='path/to/androidSDK/see/below'
export PATH=$ANDROID_HOME/tools:$PATH
export PATH=$ANDROID_HOME/platform-tools:$PATH
Here’s how to find where your Android SDK is located:
- Open Android Studio
- Configure > SDK Manager (Bottom Right)
- You should now see your Android SDK Location
Restart your Terminal after the above!
Step 3: Download an ABI (Application Binary Interface)
- Type android in your Terminal (if the command is not found make sure you’ve restarted your Terminal)
- Make sure that the Intel x86 Atom_64 System Image is installed.

Step 4: Create a new AVD (Android Virtual Device)
- Type the following in your Terminal
$ android list targetsYou should now see something like this:
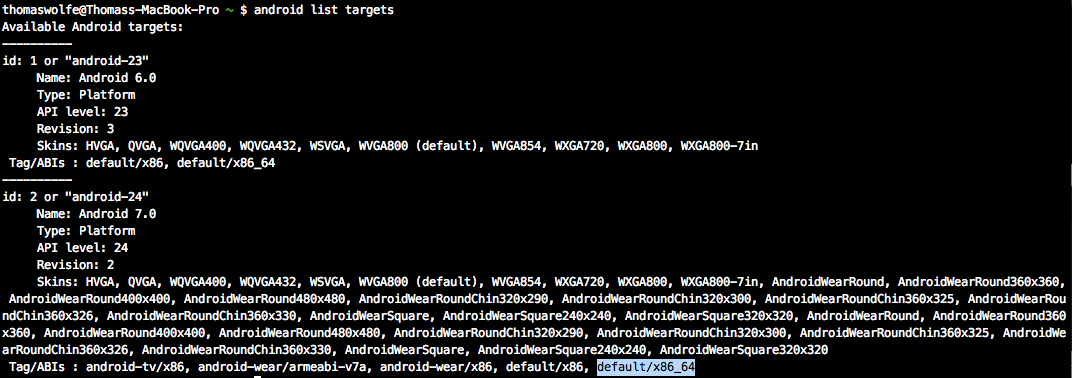
2. Execute the following command
$ android create avd -n <name> -t <target> --abi default/x86_64<name>- can be whatever you would like it to be, in my case I named it react.
<target>- Should be one of the ids output from android list targets. In my case I used 2.
Step 5: Run your Emulator
$ emulator -avd <name>If you followed the above steps you should now be ready to run the following command in any React Native project without errors:
react-native run-androidIf you’re still getting errors Google should be able to help you solve most, but feel free to leave a comment if you’re not able to figure something out.
You Did It!

Assuming that you had no errors you’re ready to start building Android applications with React Native!